How do I apply a custom kiss cut sticker sheet?
Applying a custom kiss cut sticker sheet is a straightforward process that can add a personal touch to various items. As a supplier of Kiss Cut Sticker Sheet Custom, I'm here to guide you through the steps to ensure a smooth and successful application.
Understanding Kiss Cut Sticker Sheets
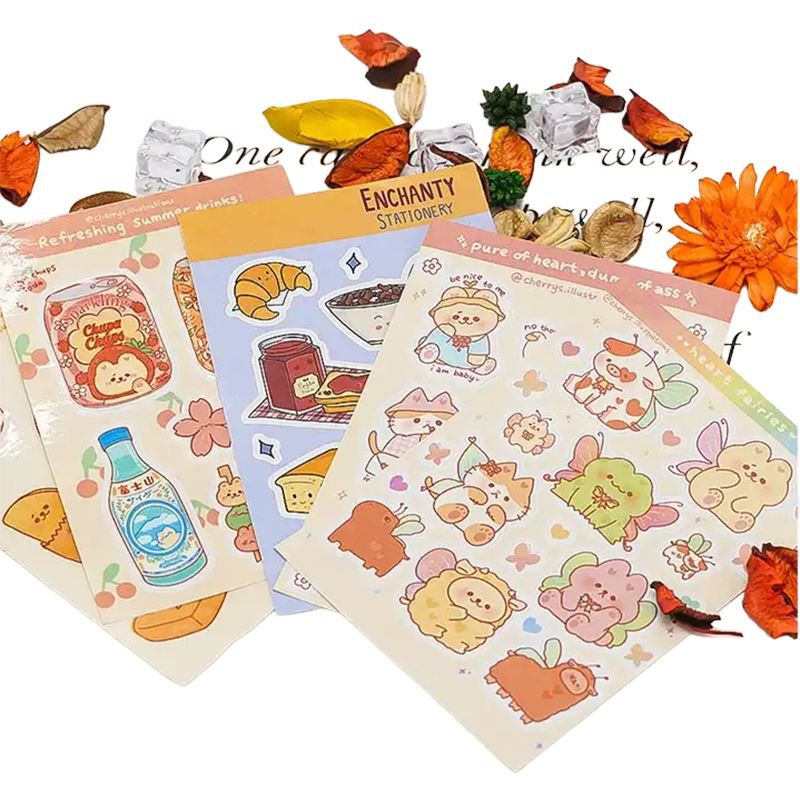
Before we delve into the application process, it's essential to understand what kiss cut sticker sheets are. A kiss cut sticker sheet consists of multiple stickers that are cut through the sticker material but not the backing paper. This allows you to easily peel off individual stickers while keeping them organized on the sheet. Kiss cut stickers come in various shapes, sizes, and designs, making them a versatile option for branding, decoration, or personal use.
Materials You'll Need
- Custom Kiss Cut Sticker Sheet: Of course, you'll need the sticker sheet itself. You can order custom kiss cut sticker sheets from our Kiss Cut Sticker Sheet factory, where we offer a wide range of customization options, including different materials, finishes, and printing techniques.
- Clean Surface: The surface where you'll be applying the stickers should be clean, dry, and free of dust, dirt, and grease. Use a mild cleaner and a soft cloth to wipe down the surface before applying the stickers.
- Squeegee or Credit Card: A squeegee or a credit card can be used to smooth out the stickers and remove any air bubbles during the application process.
- Scissors or Craft Knife (Optional): If you need to trim the sticker sheet or cut individual stickers to fit a specific shape or size, you can use scissors or a craft knife.
Step-by-Step Application Process
Step 1: Prepare the Surface
As mentioned earlier, clean the surface where you'll be applying the stickers. Make sure it's completely dry before proceeding. If the surface is textured or porous, you may want to apply a primer or a clear coat to create a smooth and even surface for the stickers.
Step 2: Plan the Placement
Take a moment to plan the placement of the stickers on the surface. You can use a ruler or a measuring tape to ensure that the stickers are evenly spaced and aligned. If you're applying multiple stickers, you may want to lay them out on the surface first to get an idea of how they'll look before peeling them off the backing paper.
Step 3: Peel the Sticker
Carefully peel the sticker off the backing paper, starting from one corner. Hold the sticker by the edges and avoid touching the adhesive side with your fingers, as this can transfer oils and dirt to the sticker and affect its adhesion.
Step 4: Apply the Sticker
Place the sticker on the surface, starting from one end and slowly pressing it down onto the surface. Use a squeegee or a credit card to smooth out the sticker and remove any air bubbles as you go. Start from the center of the sticker and work your way out to the edges. Apply firm pressure to ensure that the sticker adheres properly to the surface.
Step 5: Trim the Sticker (Optional)
If the sticker needs to be trimmed to fit a specific shape or size, you can use scissors or a craft knife to carefully trim the edges. Make sure to cut along the edge of the sticker to avoid leaving any excess adhesive on the surface.
Step 6: Repeat the Process
If you're applying multiple stickers, repeat the process for each sticker, following the same steps outlined above. Make sure to leave enough space between the stickers to avoid overlapping or crowding.
Step 7: Finishing Touches
Once all the stickers are applied, take a final look at the surface to make sure there are no air bubbles or wrinkles. If you notice any air bubbles, use a pin or a needle to puncture them and then smooth out the sticker again with a squeegee or a credit card.
Tips and Tricks
- Work in a Well-Lit Area: Applying stickers can be a precise task, so it's important to work in a well-lit area to ensure that you can see what you're doing.
- Take Your Time: Don't rush the application process. Take your time to plan the placement, peel the stickers carefully, and smooth out the air bubbles. This will help ensure a professional-looking result.
- Use a Template: If you're applying multiple stickers in a specific pattern or design, you can use a template to help you align the stickers correctly. You can create a template using a piece of paper or cardboard and trace the shape and size of the stickers onto it.
- Store the Sticker Sheet Properly: If you have any leftover stickers, store the sticker sheet in a cool, dry place away from direct sunlight. This will help preserve the adhesive and prevent the stickers from drying out or curling.
Troubleshooting
- Air Bubbles: If you notice air bubbles under the sticker, use a pin or a needle to puncture them and then smooth out the sticker again with a squeegee or a credit card.
- Wrinkles: If the sticker wrinkles during the application process, carefully lift the sticker off the surface and reapply it, making sure to smooth out the wrinkles as you go.
- Adhesion Issues: If the sticker doesn't adhere properly to the surface, make sure the surface is clean, dry, and free of dust, dirt, and grease. You can also try applying a primer or a clear coat to the surface to improve the adhesion.
Conclusion
Applying a custom kiss cut sticker sheet is a simple and rewarding process that can add a personal touch to various items. By following the steps outlined in this guide and using the tips and tricks provided, you can ensure a smooth and successful application. If you have any questions or need further assistance, please don't hesitate to contact us. We're here to help you with all your Kiss Cut Sticker Sheet Custom needs.
If you're interested in purchasing custom kiss cut sticker sheets, we invite you to contact us for a free quote. Our team of experts will work with you to understand your specific requirements and provide you with the best possible solution. We look forward to hearing from you and helping you bring your ideas to life!
References
- Kiss Cut Sticker Sheet: /print-sticker/kiss-cut-sticker/kiss-cut-sticker-sheet-factory.html
- Kiss Cut Sticker Sheet Custom: /print-sticker/kiss-cut-sticker/kiss-cut-sticker-sheet-custom.html
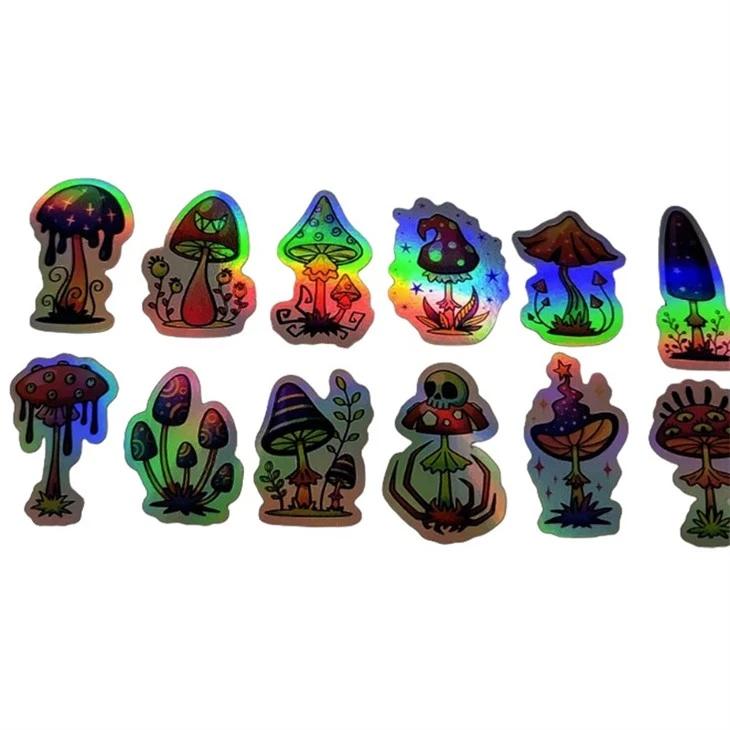
- Kiss Cut Holographic Stickers: /print-sticker/kiss-cut-sticker/kiss-cut-holographic-stickers.html