


What are the best practices for applying kiss cut sticker prints?
Hey there! I'm a supplier of kiss cut sticker prints, and I've been in this game for quite a while. Through my experiences, I've learned a ton about the best practices for applying these awesome stickers. So, let's dive right in!

Preparing the Surface
First things first, the surface where you're gonna stick your kiss cut sticker matters big time. You want to make sure it's clean and dry. Dirt, dust, and grease can mess up the adhesion of the sticker. For smooth surfaces like glass or metal, a simple wipe with a clean cloth dampened with rubbing alcohol works great. This gets rid of any grime and gives the sticker a better chance to stick properly.
If you're applying the sticker on a painted wall, check for any peeling paint or rough spots. Sand them down gently if needed. And remember, don't apply stickers on freshly painted surfaces. Let the paint cure for at least a couple of weeks. Otherwise, the sticker might pull off the paint when you try to remove it later.
Handling the Sticker
Once you've got a clean surface, it's time to handle the sticker. Kiss cut stickers are cut through the top layer of the sticker material but not through the backing paper. This makes them easy to peel off in the right shape. When you pick up the sticker sheet, hold it by the edges to avoid getting fingerprints on the stickers. Fingerprints can leave oils on the sticker, which might affect its adhesion.
If you're dealing with a large or intricate sticker, it's a good idea to use a pair of tweezers. This gives you more control when peeling the sticker off the backing paper. Just be careful not to damage the sticker while you're doing it.
Applying the Sticker
Now, here comes the fun part - applying the sticker. Start by lining up the sticker with the spot where you want to put it. You can use a ruler or a level to make sure it's straight. Once you're happy with the position, gently press down on one corner of the sticker and slowly peel the backing paper away while pressing the sticker onto the surface. Do this gradually to avoid air bubbles.
If you do end up with a few air bubbles, don't worry. You can use a credit card or a squeegee to smooth them out. Just start from the center of the bubble and push the air towards the edge of the sticker.
Dealing with Different Types of Kiss Cut Stickers
There are all sorts of kiss cut stickers out there, and each type might need a slightly different approach. For example, Kiss Cut Sticker Sheet Clear are great for a more subtle look. They're see - through, so they can blend in well with different surfaces. When applying clear stickers, make sure the surface is super clean because any dirt will be more visible through the clear sticker.
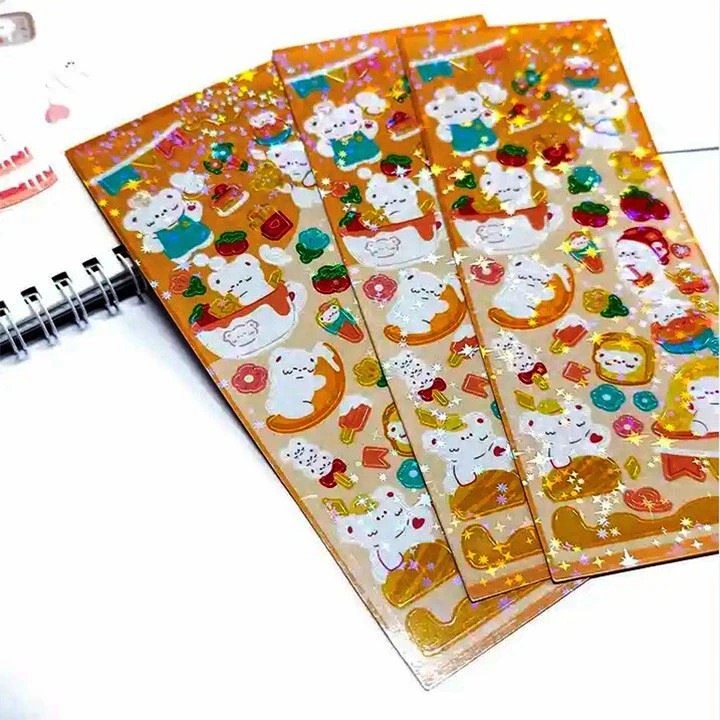
Kiss Cut Holographic Stickers are really eye - catching. They have a shiny, holographic effect that looks amazing in different lighting. But they can be a bit more delicate. When handling them, be extra careful not to scratch the holographic surface. And when applying, make sure to press them down firmly to bring out the full holographic effect.
Kiss Cut Sticker Sheet Custom are personalized to your needs. Whether it's a logo, a design, or a message, these stickers are unique. When applying custom stickers, double - check the orientation and placement to make sure your design looks just right.
Aftercare
Once you've applied the sticker, give it some time to set. For the first 24 hours, try not to touch or rub the sticker. This allows the adhesive to fully bond with the surface. If you're applying the sticker outdoors, be aware of the weather conditions. Extreme heat or cold can affect the sticker's adhesion. In hot weather, the sticker might become too sticky and leave residue when removed, while in cold weather, the adhesive might not work as well.
If you want to remove the sticker later, do it slowly and at a low angle. This reduces the risk of damaging the surface. If there's any residue left behind, you can use a little bit of rubbing alcohol or a sticker residue remover to clean it up.
Tips for Mass Application
If you're applying a bunch of stickers, like for a promotional event or a large - scale project, it's a good idea to have a system. You can use a template or a guide to ensure consistent placement. Also, make sure you have all the necessary tools ready, like tweezers, squeegees, and cleaning supplies.
It's also a good idea to practice on a test surface first. This way, you can get the hang of the application process and work out any kinks before you start on the actual project.
Conclusion
So, there you have it - the best practices for applying kiss cut sticker prints. From preparing the surface to aftercare, following these steps will help you get the most out of your stickers. Whether you're using them for personal use, business promotion, or anything in between, these tips will ensure that your stickers look great and stay in place.
If you're interested in purchasing high - quality kiss cut sticker prints, feel free to reach out for a chat. We can discuss your specific needs and find the perfect sticker solution for you. Let's make your sticker dreams a reality!
References
- Personal experience in the kiss cut sticker print industry
- General knowledge about adhesive materials and surface applications
