


What is the best way to apply kiss cut sticker sheets?
Hey there! As a supplier of kiss cut sticker sheets, I've seen firsthand how these nifty little creations can add a pop of personality to just about anything. But let's be real, applying them can sometimes feel like a bit of a hassle. That's why I'm here to share the best way to apply kiss cut sticker sheets, so you can make the most of these awesome stickers.

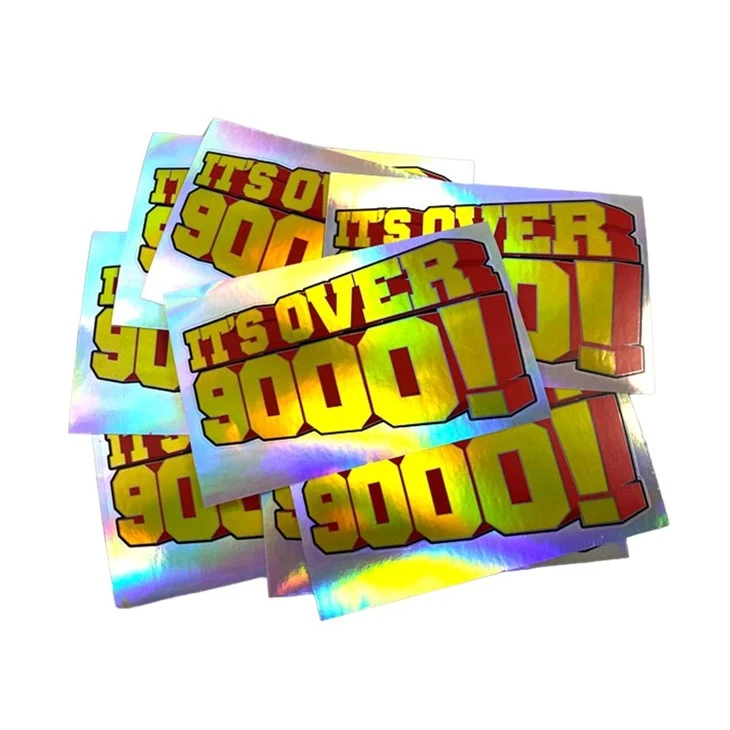
First things first, let's talk about what kiss cut sticker sheets are. A Kiss Cut Sticker Sheet is a sheet of stickers where the cutter only cuts through the top layer of the sticker material, leaving the backing paper intact. This means that each sticker is still connected to the sheet, making it easy to store and transport. Kiss cut stickers come in all sorts of shapes, sizes, and designs, from cute and colorful to sleek and sophisticated.
Now, onto the fun part - applying the stickers! The first step is to choose the surface where you want to stick your sticker. Kiss cut stickers can be applied to a variety of surfaces, including glass, plastic, metal, and paper. Just make sure the surface is clean, dry, and free of any dust or debris. You can use a clean cloth or paper towel to wipe down the surface before applying the sticker.
Once you've prepped the surface, it's time to select the sticker you want to use. Carefully peel the sticker from the sheet, starting from one corner. If you're having trouble getting the sticker to peel off, you can use a pair of tweezers or a craft knife to gently lift the edge. Be careful not to damage the sticker or the backing paper.
Next, position the sticker on the surface where you want to apply it. Take your time to line it up straight and make sure it's in the right place. You can use a ruler or a straight edge to help you align the sticker if needed. Once you're happy with the position, gently press down on the center of the sticker to adhere it to the surface.
Now, here's the tricky part - smoothing out the sticker to get rid of any air bubbles. Starting from the center of the sticker, use your fingers or a credit card to smooth out the sticker towards the edges. Apply firm pressure as you go to make sure the sticker adheres properly to the surface. If you see any air bubbles, use a pin or a needle to prick them and then smooth them out.
If you're applying a large sticker or a sticker with a complex design, you may want to use a transfer tape to help you apply it. Transfer tape is a clear, sticky tape that you can use to lift the sticker off the sheet and transfer it to the surface. To use transfer tape, place the tape over the sticker and smooth it out to make sure it adheres to the sticker. Then, carefully peel the sticker and the transfer tape off the sheet as one piece. Position the sticker on the surface and smooth it out as described above. Once the sticker is in place, carefully peel off the transfer tape.
Another tip for applying kiss cut sticker sheets is to apply them in a well-lit area. This will help you see any air bubbles or wrinkles and make it easier to line up the sticker. You may also want to work on a flat surface to make it easier to apply the sticker evenly.
Now, let's talk about some specific types of kiss cut sticker sheets. Kiss Cut Sticker Sheet Clear are a popular choice for adding a subtle touch of decoration to a surface. These stickers are transparent, so they blend in with the background and let the surface underneath show through. To apply clear kiss cut stickers, follow the same steps as described above. Just be extra careful when smoothing out the sticker to avoid leaving any fingerprints or smudges.
Kiss Cut Holographic Stickers are another fun option. These stickers have a holographic effect that makes them sparkle and shine in the light. To apply holographic kiss cut stickers, make sure the surface is clean and dry before applying the sticker. You may also want to apply the sticker in a well-lit area to really show off the holographic effect.
In addition to the tips above, here are some general tips for getting the best results when applying kiss cut sticker sheets:
- Store your sticker sheets in a cool, dry place to prevent them from drying out or sticking together.
- Avoid applying stickers in extreme temperatures or humidity, as this can affect the adhesion of the sticker.
- If you're applying stickers to a curved surface, you may need to cut the sticker into smaller pieces to make it easier to apply.
- If you make a mistake or want to remove a sticker, you can gently peel it off the surface. However, be aware that some stickers may leave a residue behind. You can use a mild adhesive remover to clean the surface if needed.
So there you have it - the best way to apply kiss cut sticker sheets! I hope these tips and tricks have been helpful. If you're interested in purchasing kiss cut sticker sheets for your next project, feel free to reach out to me. I'd be happy to help you find the perfect stickers for your needs. Whether you're looking for a simple design or a custom-made sticker, I've got you covered.
Thanks for reading, and happy sticking!
References
- General knowledge and experience as a kiss cut sticker sheet supplier.
